How To Keep Tools Sharp and Prevent Workshop Accidents
This article is about Accidents. "A sharp tool is a safe tool, but a clean tool is a long-lasting one."
Keeping your workshop in order requires more than just putting things back in a drawer; it requires a disciplined approach to maintenance to prevent mechanical failure and safety hazards.
This guide covers the essential steps for routine cleaning, lubrication, and sharpening to ensure your investment stays productive for years.
* Clear debris immediately to prevent corrosion and friction. * Lubricate moving parts to maintain smooth operation. * Sharpen cutting edges to reduce physical strain and heat buildup. * Organize tools by frequency of use to prevent accidental damage.
Why does dust ruin my expensive drill?
The smell of burnt ozone often fills a workshop when a motor struggles against grit. I remember pulling a cordless drill out of a pile of sawdust in my garage, only to find the trigger mechanism sticking halfway through a project.
Dust, metal shavings, and fine debris are the primary enemies of precision machinery. When these particles enter the motor housing or gear assemblies, they increase internal friction, which leads to overheating and premature motor failure.
According to the Workshop Safety Standards manual, regular removal of sawdust and metal shavings is necessary to prevent friction-induced wear.
Leaving debris inside a tool can lead to much more than just a sticky trigger. Small particles can act as abrasives, grinding down internal bushings and bearings. This results in a loss of precision, where a drill no longer holds a straight line or a saw blade wobbles during a cut.
If you are working with wood, the fine dust can mix with ambient moisture to create a paste that hardens inside sliding rails. This paste can seize up adjustment knobs or prevent depth stops from moving smoothly.
For those using metalworking tools, fine shavings can find their way into the threads of adjustment screws, making them impossible to turn without significant force.
The first step in a proper maintenance routine is a thorough cleaning after every single use.

How do I handle lubrication without making a mess?
I once spent an entire afternoon cleaning grease off the floor because I applied too much oil to a sliding table saw rail. It was a slippery, dangerous mess that took hours to scrub away.
Lubrication is essential for moving parts, but applying it too heavily can attract more dust and create a grinding paste. You should only apply enough lubricant to ensure smooth movement, focusing on pivot points, sliding tracks, and gear interfaces.
| Tool Type | Recommended Lubricant | Application Method |
|---|---|---|
| Hand Tools (Pliers/Snips) | Light Machine Oil | Single drop on the pivot pin |
| Sliding Rails (Saws/Drills) | Dry Silicone Spray | Light mist followed by wiping excess |
| Heavy Gears/Chains | Penetrating Oil or Grease | Targeted application with a brush |
| Precision Measuring Tools | Specialized Instrument Oil | Micro-application with a lint-free cloth |
When dealing with sliding components, such as the rails on a miter saw or the tracks of a router table, a dry lubricant like PTFE (Teflon) spray is often better than heavy grease.
Because it dries to a thin, non-tacky film, it does not attract the sawdust that would otherwise turn standard grease into an abrasive sludge.
For pivot points on hand tools like pliers or snips, a single drop of light machine oil is usually sufficient. If you use a heavy grease on a small pivot, the excess will inevitably leak out and collect dirt, eventually causing the tool to seize.
- Clean the surface thoroughly with a dry cloth before applying any lubricant. 2. Apply a minimal amount of the appropriate lubricant to the moving part. 3. Work the tool through several full cycles of motion to distribute the lubricant. 4. Wipe away any excess liquid that might leak or attract debris.
This routine prevents the "stiff tool" syndrome that often leads users to apply excessive force, which is when most accidents happen.

When is it time to sharpen my blades?
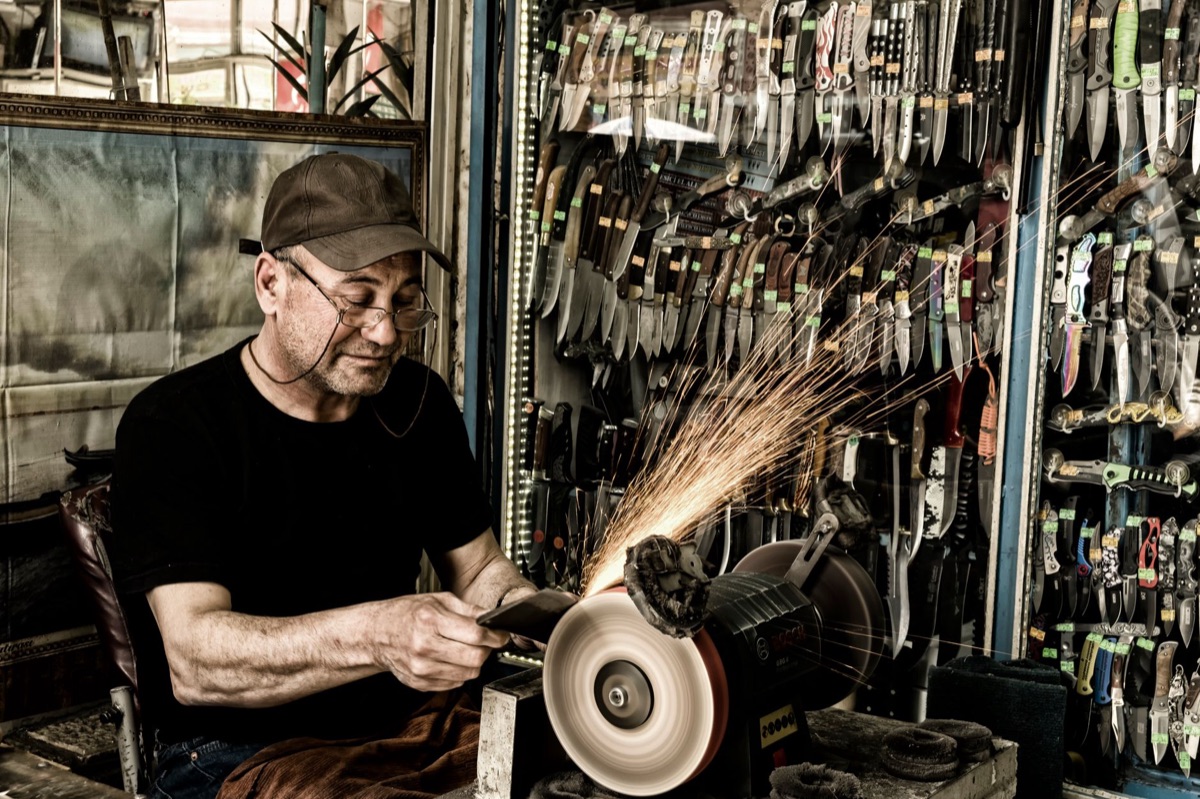
A dull blade doesn't just cut poorly; it fights you every inch of the way. I can still feel the vibration in my hands from the time I tried to force a dull chisel through a piece of oak, nearly slipping and hitting my thumb.
Sharpening is not just about making a tool "sharp"; it is about restoring the correct geometry of the cutting edge to ensure efficient energy transfer. A dull blade requires much more downward pressure to make a cut, which significantly increases the risk of the tool slipping during use.
Dullness manifests in several ways: the tool requires more physical effort, the cut quality is ragged, or the tool generates excessive heat. When a blade is dull, it "rubs" against the material instead of slicing through it.
This friction generates heat, which can burn wood or cause metal-to-metal expansion that jams the tool.
| Symptom | Likely Issue | Action Required |
|---|---|---|
| High heat during cuts | Dull edge/High friction | Sharpening or honing |
| Ragged edges on wood | Improper tooth geometry | Resharpening or replacement |
| Sticking/Binding | Improper clearance | Check alignment and sharpness |
Using a dull tool is a major contributor to physical fatigue. If you find yourself leaning your entire body weight into a tool to complete a simple task, the edge is compromised.
This fatigue leads to a loss of concentration and steady hand control, which are the primary precursors to workshop injuries.
Regularly sharpening blades and bits ensures they bite into the material immediately upon contact. This prevents "skating," where the tool jumps across the surface of the workpiece, causing inaccurate cuts or accidental contact with the user.
What are the risks of neglecting tool maintenance?
The silence of a tool that won't turn on is often more frustrating than the noise of a working one. I remember the sinking feeling of reaching for a critical tool only to find it was seized solid because of rust that had been ignored for months.
According to the Power Tool Institute, the organization launched a battery safety campaign for power tools in 2018.
Neglecting maintenance leads to three main categories of failure: mechanical breakdown, loss of accuracy, and safety hazards. When tools are not cleaned and lubricated, the internal components wear down at an accelerated rate, leading to much more expensive repairs or total replacement.
A primary risk is the loss of precision. If a measurement tool is corroded or a drill press is wobbly due to worn bearings, every project you undertake will be slightly off. These small errors accumulate, making it impossible to perform assembly work that requires tight tolerances.
Safety is the most critical concern. A tool that is stuck, catches unexpectedly, or requires excessive force is a tool that is out of control.
For example, a dull circular saw blade can cause "kickback," where the saw is violently thrown back toward the operator because the teeth cannot cleanly enter the material.
This type of maintenance is not just about longevity; it is about maintaining the predictability of your tools. You need to know exactly how a tool will react when you engage it.
How do I organize my maintenance schedule?
A cluttered workbench often hides a lack of a maintenance plan. I used to think that as long as the tool worked, I didn't need a schedule, until a sudden breakdown during a deadline cost me a whole day of productivity.
Effective maintenance should be integrated into your workflow rather than being treated as a separate, daunting task. The frequency of maintenance depends on the type of tool and the environment in which it is used.
A good way to manage this is to categorize your tools based on their maintenance needs:
- Daily/Post-Use: Wipe down surfaces, brush away sawdust, and check for obvious damage. 2. Monthly: Deep clean motors, inspect cords for fraying, and perform light lubrication on moving parts. 3. Seasonal/Project-Based: Sharpen all blades, perform deep inspections of gearboxes, and check the calibration of measuring tools.
For projects involving heavy dust or moisture, the "post-use" cleaning must be even more rigorous. If you are working in a high-humidity environment, rust prevention becomes a weekly task rather than a monthly one.
It is important to note that these maintenance steps do not apply to disposable or single-use tools. Attempting to sharpen a cheap, low-quality blade that was not designed for sharpening can actually damage the tool more than it helps.
However, this does not apply in every situation.
You should clean your tools after every use to remove sawdust and debris. This prevents friction and helps prevent the buildup of a "paste" that can seize moving parts.
Related




Comments 0