Build a Pro Hand Tool Kit to Avoid 500 Dollar Mistakes
"Don't let a $500 mistake ruin your first project: Learn how to build a professional-grade tool foundation without the professional price tag."
Building a tool kit is the difference between a weekend project that finishes smoothly and a frustrating ordeal that ends with stripped screws and wasted lumber. This guide helps you navigate the transition from "clueless novice" to "capable maker."
Key Takeaways * The 80/20 Rule: Focus 80% of your budget on high-quality "core" tools (measuring, cutting, fastening) and 20% on task-specific accessories.
* Quality over Quantity: One high-quality screwdriver or hammer is better than a cheap 50-piece kit that breaks during the first use. * The Hybrid Strategy: Combine entry-level power tools with high-end manual hand tools for the best cost-to-performance ratio.
ly * Safety First: A tool is only as good as the hand that controls it; PPE (Personal Protective Equipment) is the most important "tool" in your kit.

Why shouldn't I just buy a cheap "All-in-One" kit?
I stood in a big-box hardware store aisle last Tuesday, staring at a massive, bright-red plastic case filled with 150 pieces of shiny, unbranded tools. It looked like a bargain—everything a beginner could ever need for under $99.
But as I picked up a screwdriver from the set, the weight felt hollow, and the steel looked soft enough to bend under moderate pressure.
The trap of cheap sets is real. Mass-market "starter kits" often use inferior metallurgy and cheap plastic handles to hit a low price point. While they look complete on the shelf, they often fail when you actually need them to perform.
A screwdriver that slips and strips a screw head isn's just annoying; it can ruin a piece of expensive hardwood or damage a wall mount.
The "hidden cost" of low quality is often much higher than the initial savings. If a cheap tape measure loses its tension after two weeks or a level is inaccurate out of the box, you will end up measuring things incorrectly.
This leads to expensive material waste—buying wood that is too short or furniture that sits crookedly in your living room.
A modular approach is much more efficient. Instead of buying a giant box of junk, buy individual, high-quality components. Categorize your needs into "Lifetime Tools" (items like steel hammers, levels, and measuring tapes) and "Consumables" (items like drill bits, sandpaper, and saw blades).
Invest heavily in the lifetime tools so they serve you for decades.
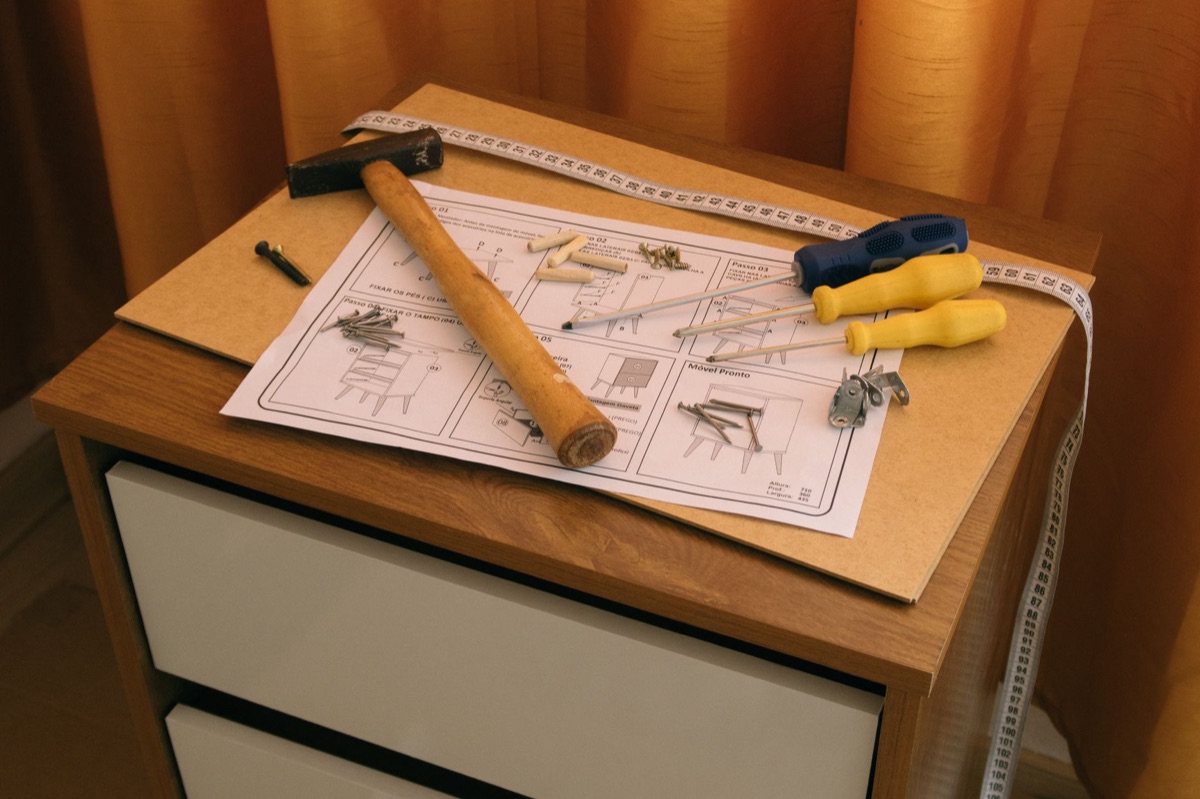
What are the "Must-Have" hand tools for home remodeling?
I remember my first attempt at hanging a floating shelf. I had a hammer and a screwdriver, but I lacked the basic tools to ensure the shelf was actually level. It ended up slanted, looking like it was sliding off the wall, because I hadn't accounted for the vertical alignment.
The Measurement Trinity is your first line of defense. You absolutely need a high-quality 16ft (5m) tape measure with a locking mechanism, a speed square for marking straight lines, and a reliable spirit level. Without these, you aren't building; you are guessing.
The Fastening Core is the heart of your kit. You need a set of high-quality screwdrivers (Phillips, Flathead, and Torx) that fit snugly into screw heads to prevent slipping.
For striking, a 16oz claw hammer is the "sweet spot" for beginners—it is heavy enough for most tasks but light enough to control easily.
For cutting and gripping, you need versatile tools. A retractable utility knife is essential for everything from opening boxes to trimming drywall. For gripping, a pair of universal pliers (like needle-nose or linesman pliers) will handle much of your tension and wire-work needs.
Finally, don't overlook the small things. A small torpedo level is one of the most underrated tools for anyone doing furniture assembly or mounting items on narrow surfaces like door frames.
| Tool Category | Essential Item | Why it matters |
|---|---|---|
| Measurement | 16ft Tape Measure | Precision in length and width |
| Fastening | 16oz Claw Hammer | Versatile striking and prying |
| Cutting | Utility Knife | Precision cutting of soft materials |
| Alignment | Spirit Level | Ensuring everything is perfectly straight |
How to balance Hand Tools vs. Power Tools for beginners?
I once watched a friend try to build a simple wooden planter using only a handheld screwdriver and sheer willpower. He spent three hours on a job that should have taken twenty minutes. He had the manual tools, but he lacked the "power-assist" needed to make the job efficient.
The only power tool a beginner *must* own immediately is a cordless drill/driver. It bridges the gap between manual labor and mechanical speed. It allows you to drive screws and drill pilot holes with ease, making it the most versatile investment you can make.
However, there is a balance to maintain. Manual tools teach you the fundamentals of physics, tension, and material resistance. Using a hand saw before jumping to a circular saw helps you understand how wood grain behaves. Don't let the ease of power tools make you lose your "feel" for the work.
When choosing power tools, follow the Battery Platform Rule. Pick one brand (like DeWalt, Milwaukee, or Bosch) and stick to their battery ecosystem. If you buy a 20V drill now, you want to be able to use that same battery for a cordless sander or circular saw later.
This saves you hundreds of dollars in the long run.
Ultimately, your toolkit should evolve. You start with tools to "fix things" (hand tools) and gradually move toward tools to "build things" (power tools).
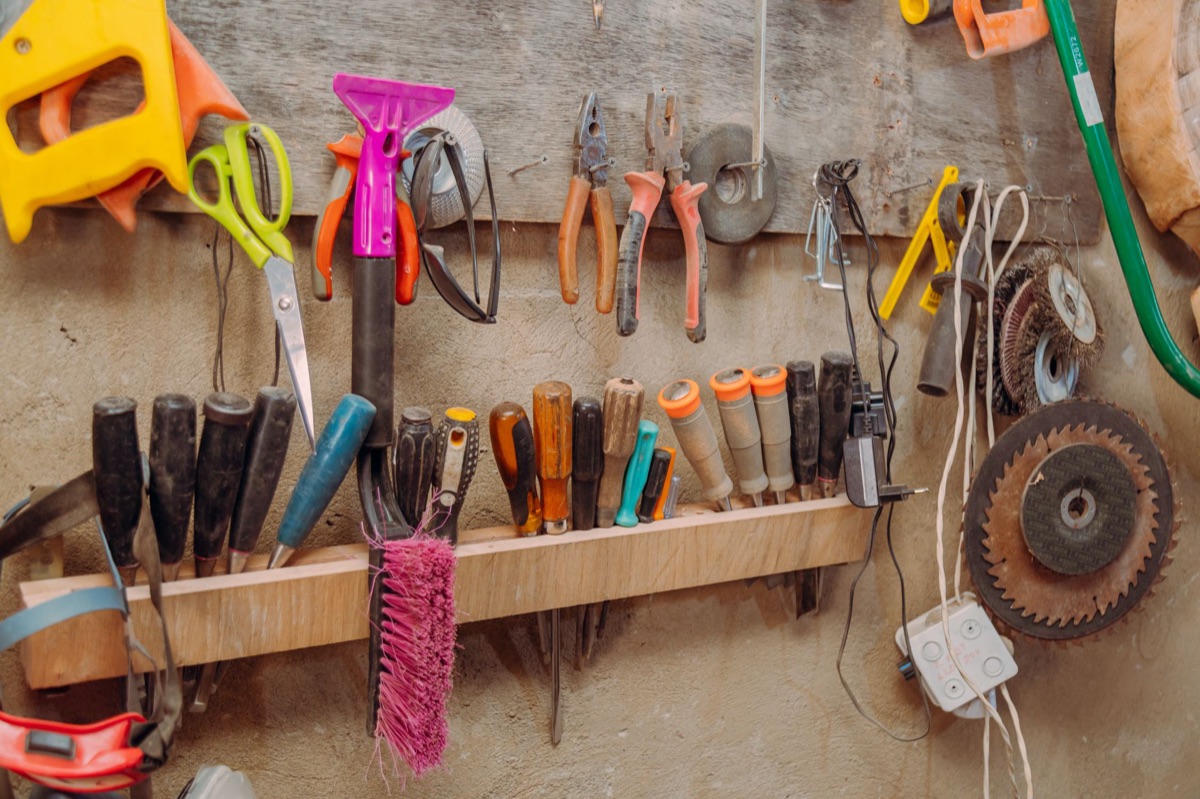
How can I maximize cost-efficiency during my first purchase?
I used to think that buying the most expensive tool available was the only way to be "professional." I was wrong. I realized that spending $200 on a specialized router before I even knew how to use it was just a waste of money sitting in my garage.
The best way to save is to use a Tiered Buying Strategy. For core tools like hammers, levels, and pliers, buy mid-range, reputable brands (like Stanley or Klein). For consumables like drill bits, sandpaper, or wood glue, you can often use budget brands without much penalty.
Second-hand wisdom is another great way to build a kit. Check local marketplaces or garage sales for high-quality steel tools. When buying used, check for heavy rust, ensure the handles are tight and not cracked, and verify that moving parts (like pliers) move smoothly without excessive play.
Always use the "Wait and See" method. Never buy a specialized tool—like a miter saw, a router, or a planer—until you have a specific project that requires it. If you have a project in mind, that is when you justify the purchase.
Example Budget Breakdown for Beginners:
- The $300 Budget (The Essentialist):
- * Quality 16oz Hammer
- * Good 16ft Tape Measure & Level
- * Screwdriver Set & Pliers
- * Entry-level Cordless Drill
- The $600 Budget (The Builder):
- * Everything in the $300 budget
- * Upgraded Tool Bag/Organizer
- * Set of high-quality Drill Bits/Driver Bits
- * A basic Cordless Circular Saw or Jigsaw
What are the essential safety protocols to prevent injury?
I once saw a beginner use a dull utility knife to cut through thick cardboard. The blade caught, slipped, and nearly took a chunk out of their thumb. It was a terrifying moment that could have been avoided with a simple rule: always cut away from your body.
Safety is not an "extra" task; it is part of the work itself. The most important tools in your kit are actually your Personal Protective Equipment (PPE). This includes safety glasses to protect against flying debris, earpl covers for loud power tools, and a dust mask for sanding.
Always inspect your tools before use. Check for cracked handles on hammers, frayed cords on electric tools, and loose-fitting blades. If a tool feels unsafe or wobbly, put it down. A broken tool is a projectile waiting to happen.
Keep your workspace organized. A cluttered floor is a trip hazard, and a cluttered workbench leads to tools falling on your feet. When you finish a task, put the tool back in its designated place.
#




Comments 0