Digital vs Analog Tools: 5 Key Differences for Precision
Choosing between digital and analog measurement tools is not just about convenience; it is a strategic decision involving error tolerance, environmental variables, and workflow efficiency.
Whether you are a machinist in a heavy industrial shop in Detroit or a hobbyist building walnut cabinets in a home garage, the tool you hold determines the quality of your final product.
Digital tools offer speed and ease of reading, but they are susceptible to battery failure and electronic interference. Analog tools provide tactile feedback and lifetime reliability but require higher user skill to avoid parallax error.
The optimal choice depends entirely on your specific work environment and the required level of repeatability.
Key Takeaways: * Digital tools offer speed and ease of reading but are susceptible to battery failure and electronic interference. s* Analog tools provide tactile feedback and lifetime reliability but require higher user skill to avoid parallax error.
* The optimal choice depends on the specific work environment (e.g., workshop vs. laboratory) and the required level of repeatability.

What are the fundamental differences between digital and analog measurement?
A technician sits at a heavy steel workbench, squinting at a fine etched scale through a magnifying loupe to ensure a measurement is perfect.
The metal feels cold, and the physical slide of the tool provides a distinct, mechanical resistance that tells the user exactly how much pressure is being applied.
The fundamental difference lies in the mechanism of the readout. Digital tools use electronic sensors—often capacitive or inductive—to translate physical movement into a numerical value displayed on an LCD screen.
Analog tools, such as traditional vernier calipers, use physical scales that require the user to visually interpolate the position of the sliding scale against the fixed scale.
It is vital to distinguish between resolution and accuracy. A digital display showing 0.01mm does not always guarantee higher accuracy than a manual scale if the sensor quality is low.
While the digital screen provides a high-resolution readout, the physical accuracy is still limited by the tool's construction. Furthermore, the tactile feedback of an analog tool—the "feel" of the metal—often provides more information about the object being measured than a digital screen can.
Finally, there is the question of data logging: digital tools allow for easy export via USB or Bluetooth, whereas analog tools require manual recording.
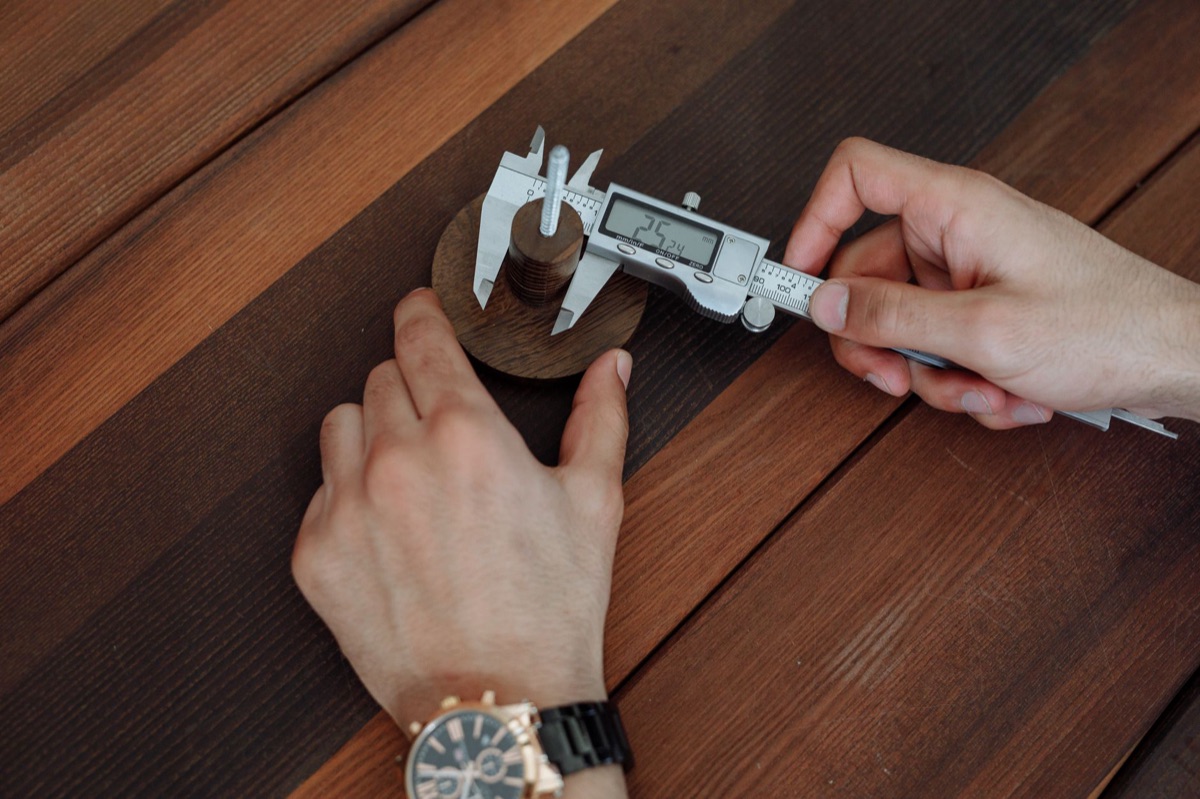
Digital Calipers: When speed and convenience take center stage
In a bright, temperature-controlled laboratory, a technician moves through a pile of plastic prototypes, tapping the "zero" button on a digital caliper to instantly reset the measurement for the next part. The numbers flicker for a split second before settling into a clear, unmistakable value.
Digital calipers excel when speed and ease of use are the primary goals. The ability to perform an instant zeroing (tare function) allows for much faster repetitive tasks, such as measuring the depth of a hole relative to a known surface.
This reduces the mental fatigue associated with manual calculation and reading complex scales.
However, these advantages come with trade-offs. Digital tools are entirely dependent on battery life, and they can be vulnerable to dust, oil, or moisture unless they carry a high IP rating.
In certain environments, they may also suffer from "jumpy" readings caused by temperature fluctuations or electromagnetic interference. For rapid prototyping, repetitive quality control in clean environments, and non-technical assembly tasks, the digital advantage is often unbeatable.
To maintain accuracy, always clean the sensor strip regularly to prevent erratic readings caused by microscopic debris.
Analog Vernier Calipers: Why masters still rely on manual tools
A machinist in a shop filled with the scent of cutting oil and the sound of heavy presses reaches for a well-worn, stainless steel vernier caliper. There is no battery to check, no screen to dim, and no electronics to fail when the tool is dropped onto a metal surface.
The pros of analog tools are rooted in their reliability. Because they require no power, they are ready for use at any moment. They are extremely durable in harsh environments—such as those filled with metal shavings, oil,s or moisture—and they offer a lifetime of use with minimal maintenance.
For many professionals, the "feel" of the tool is a vital source of information.
The downsides are primarily human-centric. The risk of parallax error—where the measurement appears different depending on the angle at which you view the scale—is a constant challenge. Reading very fine increments also requires significant training and can slow down the workflow.
However, mastering the vernier scale improves a technician's spatial awareness and measurement precision. For fieldwork, heavy machining environments, and situations where electronic interference is high, the analog tool remains the gold standard.
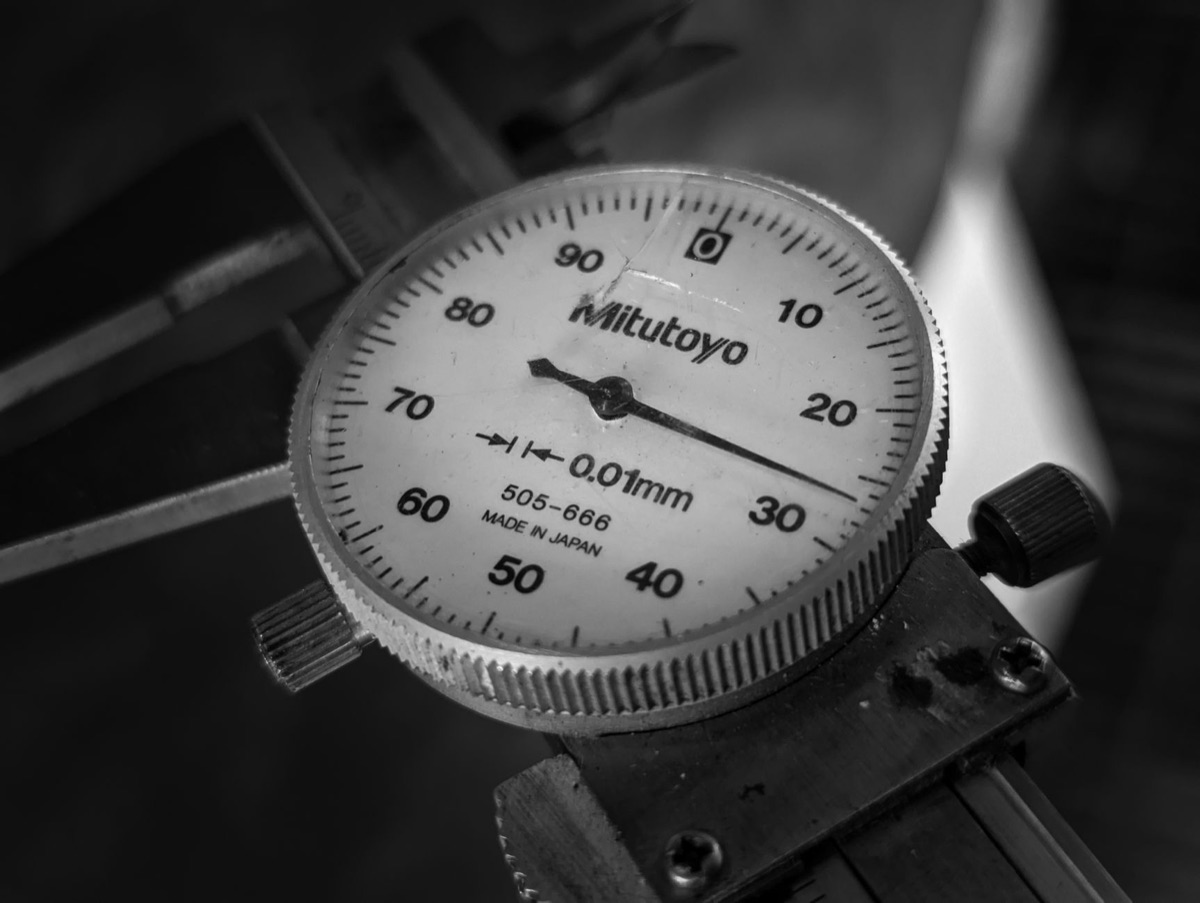
Analyzing Measurement Error: Which tool is actually more precise?
A researcher places a single steel block on a granite surface plate, measuring it ten times in a row to see how much the numbers drift between the first and the last attempt. The goal is not to find the "true" size, but to see how much the tool itself fluctuates.
When comparing tools, we must distinguish between human error and tool error. Parallax error is a human error common in analog tools, while sensor drift and rounding errors are technical errors common in digital units.
Environmental impact also plays a role; temperature fluctuations can cause metal to expand, and digital sensors may react differently to these changes than physical scales.
To determine which tool is truly better for your needs, you should perform a repeatability test. Follow these steps: 1. Select a stable, flat object (like a precision-ground block). 2. Clean the object and the tool thoroughly. 3. Take a measurement with the tool, recording the value. 4.
Repeat the measurement at least ten times without changing the tool's position. 5. Calculate the standard deviation of the results.
A lower standard deviation indicates higher repeatability. Finally, always perform a zero-point calibration—checking the "zero" state—before every measurement session to ensure the tool is acting as expected.
Decision Matrix: How to choose the right tool for your task
A shop manager stands between two workstations: one set up for high-volume plastic injection molding and the other for heavy-duty engine block rebuilding. He must decide which set of tools to assign to each team.
Choosing the right tool requires a systematic approach. Use the following steps to make your decision:
| Step | Action | Consider |
|---|---|---|
| 1. Assess Environment | Is the shop dusty/oily or a clean lab? | Analog for dirty/harsh; Digital for clean/controlled. |
| 2. Determine Tolerance | Is the margin for error ±0.02mm or ±0.1mm? | Digital for fine resolution; Analog for robust reliability. |
| 3. Evaluate Workflow | Is speed or absolute durability more important? | Digital for speed; Analog for longevity. |
Summary of Tool Suitability
- The Clean Lab/Rapid Prototyping: Digital is the winner for speed and ease of reading. 2. The Machine Shop/Fieldwork: Analog is the winner for durability and lack of battery dependency. much more reliable in oily environments. 3. The High-Precision Lab: A combination of high-end digital for speed and manual for verification.




Comments 0