Drill Guide 2026: Top 5 Best Cordless Drills for Beginners
Don't let a bad purchase turn your new tool into an expensive paperweight; the right drill makes home repairs feel like a breeze.
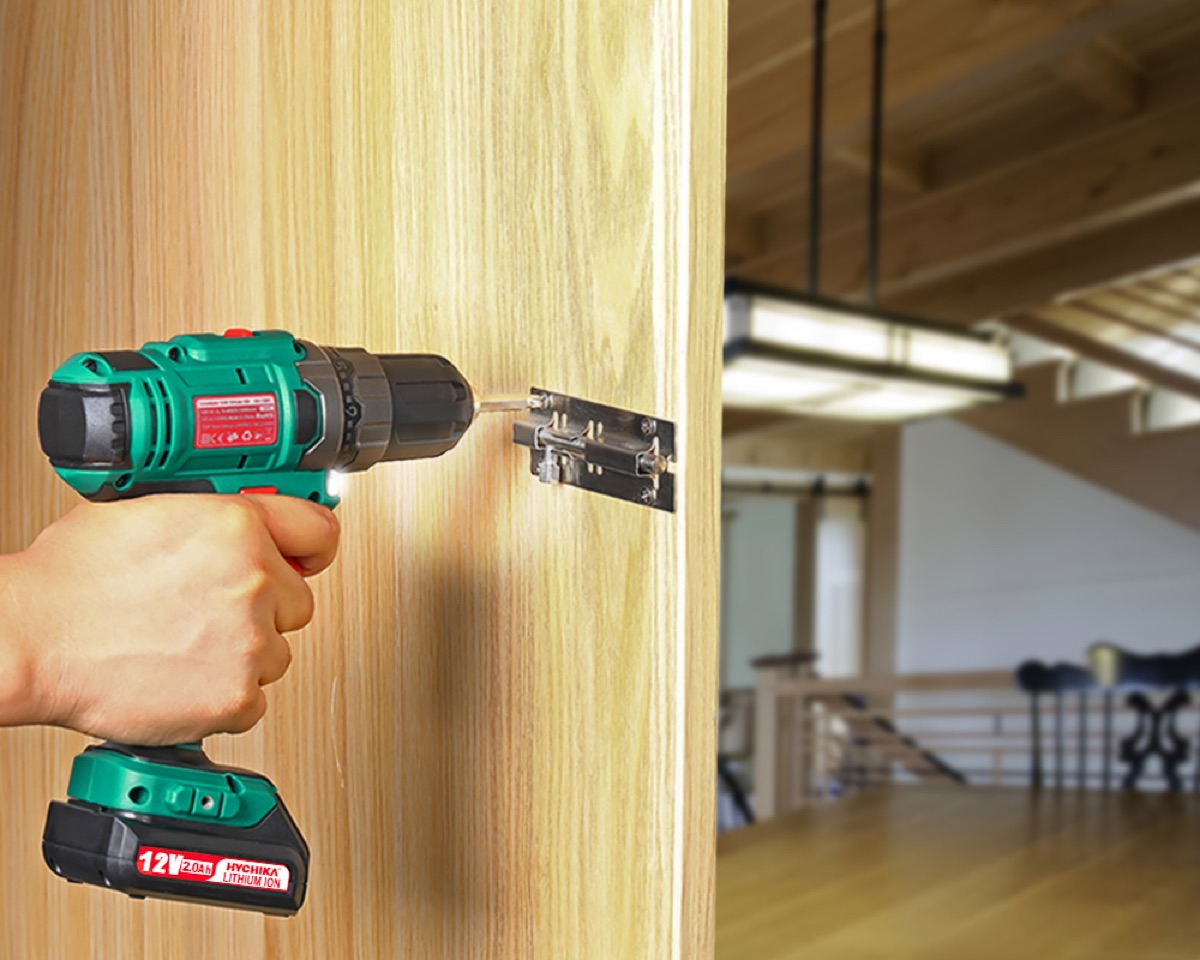
To pick the perfect drill, you need to match the voltage and torque to your specific tasks rather than just chasing big brand names. If you are mostly assembling flat-pack furniture, a 12V compact drill is ideal.
However, if you plan on drilling into masonry or studs, you should invest in an 18V or 20V Max model. Matching the tool to the material prevents both motor burnout and stripped screws.
* Match Voltage to Task: Use 12V for light assembly and 18V+ for heavy-duty drilling or masonry. * Prioritize Battery Ecosystems: Stick to one brand so you can swap batteries between different tools later. * Look for a Clutch: A built-in clutch prevents stripping screws and protects your wrists from sudden kickbacks. * Weight Matters: For overhead work, look for models weighing under 3 lbs to avoid wrist fatigue.
Why Your Drill Choice Dictates DIY Success or Failure
A common mistake beginners make is thinking "more power is always better." This mindset can actually lead to damaged materials or even personal injury.
According to the Occupational Safety and Health Administration (OSHA)'s 2025 safety guidelines, using a tool with inappropriate torque settings is a leading cause of sudden kickback. This can result in wrist strain or broken equipment.
For instance, if you apply high torque to a delicate piece of pine, you'll likely blow right through it. Conversely, trying to tackle a brick exterior with a low-powered hobbyist drill will only overheat the motor.
In 2026, while cordless lithium-ion technology has made most professionals go wireless, deciding between a compact 12V and a heavy-duty 20V system is still the most critical first step for any homeowner.
2026 Top 5 Drill Recommendations for Beginners
1. Bosch GSB Series (The All-Rounder) This is the "gold standard" for someone who wants one tool to do everything. It features a hammer function, meaning it can handle wood, metal, and even concrete walls.
* Pros: Incredible durability and a massive ecosystem of compatible tools. * Cons: Can feel a bit heavy (around 3-4 lbs) during extended use. * Price Range: Approximately $120–$160 for a kit.
2. DeWalt DCD Series (The Performance Pick) Many pros keep these in their trucks as secondary drills because they are so reliable. The ergonomics are top-tier, making them feel like an extension of your hand.
* Pros: Exceptional grip and highly precise trigger control for fine work. * Cons: You'll pay a premium; prices are roughly 15% higher than budget brands. * Price Range: Approximately $140–$190.
3. Makita DF Series (The Lightweight Specialist) If you struggle with wrist pain or do a lot of work in tight cabinets, this is your best bet. Their 12V lineup is legendary for being compact yet punchy.
* Pros: Extremely lightweight; perfect for furniture assembly and crafts. * Cons: Lacks the "oomph" required for heavy masonry or thick studs. * Price Range: Approximately $80–$110.
4. Black+Decker 12V Max (The Budget Entry) Perfect if you are asking yourself, "Will I actually use this?" This is the most economical way to get through a basic home move-in or small repairs.
* Pros: Very affordable and easy to store in a junk drawer. * Cons: Lower durability and shorter battery lifespan compared to pro brands. * Price Range: Approximately $35–$55.
5. Milwaukee M12 FUEL (The Pro-Grade Compact) This is for the beginner who wants "the best of the best" right out of the gate. It packs a massive punch despite its small size.
* Pros: Unmatched torque for a 12V tool; it punches way above its weight class. * Cons: Expensive and can be almost too powerful for very delicate tasks. * Price Range: $170+.
Quick Comparison Guide
| Feature | Bosch GSB | DeWalt DCD | Makita DF | Black+Decker | Milwaukee M12 |
|---|---|---|---|---|---|
| Best Use | All-Purpose | Precision Wood | Furniture/Light | Basic Assembly | High-Performance |
| Voltage | 18V | 20V Max | 12V | 12V | 12V |
| Weight Class | Heavy | Moderate | Very Light | Light | Compact/Dense |
| Skill Level | Intermediate | Intermediate | Beginner | Absolute Novice | Advanced Beginner |

How to Use Your New Drill Without Breaking Things
I remember the first time I tried to hang a heavy mirror. I used too much power, stripped the screw head completely, and spent 45 minutes fishing the metal out of the wood with pliers. It was frustrating.
According to UL (Underwriters Laboratories)'s 2025 consumer safety report, proper torque management can prevent up to 80% of common tool-related accidents. Use these steps:
- Define Your Material: Determine if you are hitting wood, metal, or masonry to select the right bit and voltage.
- Set Your Clutch: Locate the numbered dial near the tip. Start with a low number for small screws; increase it only as needed.
- Maintain 90-Degree Alignment: Ensure the drill bit is perfectly perpendicular to the surface. A tilted angle leads to crooked holes and snapped bits.
- Gear Up: Always wear safety glasses. Tiny wood splinters or metal shards fly much faster than you expect.
However, tool performance can vary based on battery health and user technique. According to Consumer Reports' 2026 battery longevity study, lithium-ion cells can lose up to 20% efficiency if stored in extreme temperatures.
If using a budget model, I highly recommend keeping a spare battery on hand as they tend to drain faster under heavy load or when working in cold environments.




Comments 0