Smart Woodworking: 5 Rules for Perfect Cutting Results
"Don't let a mismatched blade ruin your project: learn how to match tooth counts and material density to achieve professional-grade cuts every single time."
Choosing the right blade isn't just about getting through the wood; it is about preserving the integrity of the material and the longevity of your expensive power tools.
If you use a coarse ripping blade on a thin sheet of birch plywood, you will leave jagged, splintered edges that require hours of frustrating sanding.
Key Takeaways
* Material-Specific Logic: Solid wood requires aggressive tooth counts for ripping, while MDF and plywood require high tooth counts to prevent splintering. * The TPI Rule: Understanding Teeth Per Inch (TPI) determines whether you get a clean finish or a ruined workpiece. * Tool Longevity: Using the wrong tool for specific hardness ratios leads to premature blade dulling and unnecessary motor strain. * Efficiency Hack: Matching the kerf (cut width) to the material thickness prevents wood movement and warping.

Why does wood type dictate your tool choice?
At 7:00 AM in my workshop, the smell of fresh sawdust fills the air as I run a finger over a rough-cut slab of walnut. The grain is tight, the density is high, and the tool must be ready to meet that resistance.
The physics of resistance determines everything in woodworking. Hardwoods like oak or maple possess a much higher density than softwoods like pine, meaning they offer more friction against a blade. When you push a blade through a dense material, the heat buildup is immediate.
If your blade isn't designed to dissipate that heat or if the tooth geometry is too aggressive, the blade will wander, causing crooked cuts.
The "splinter factor" is another critical variable. In solid wood, the grain provides a natural path for the blade. In engineered materials like MDF or plywood, the layers of glue and compressed fibers behave differently.
A blade designed to slice through a solid log might catch on the glue layers of a plywood sheet, causing the thin veneer to "blow out" or shatter at the exit point.
Using a "general purpose" blade on fine hardwood is a costly mistake. While a single blade might technically cut through anything, a coarse blade designed for heavy ripping will leave deep gouges in expensive hardwoods.
This leads to wasted material and a massive increase in labor time spent sanding.
But the problem goes deeper than just the surface finish.
Solid Wood: How to master ripping and cross-cutting?
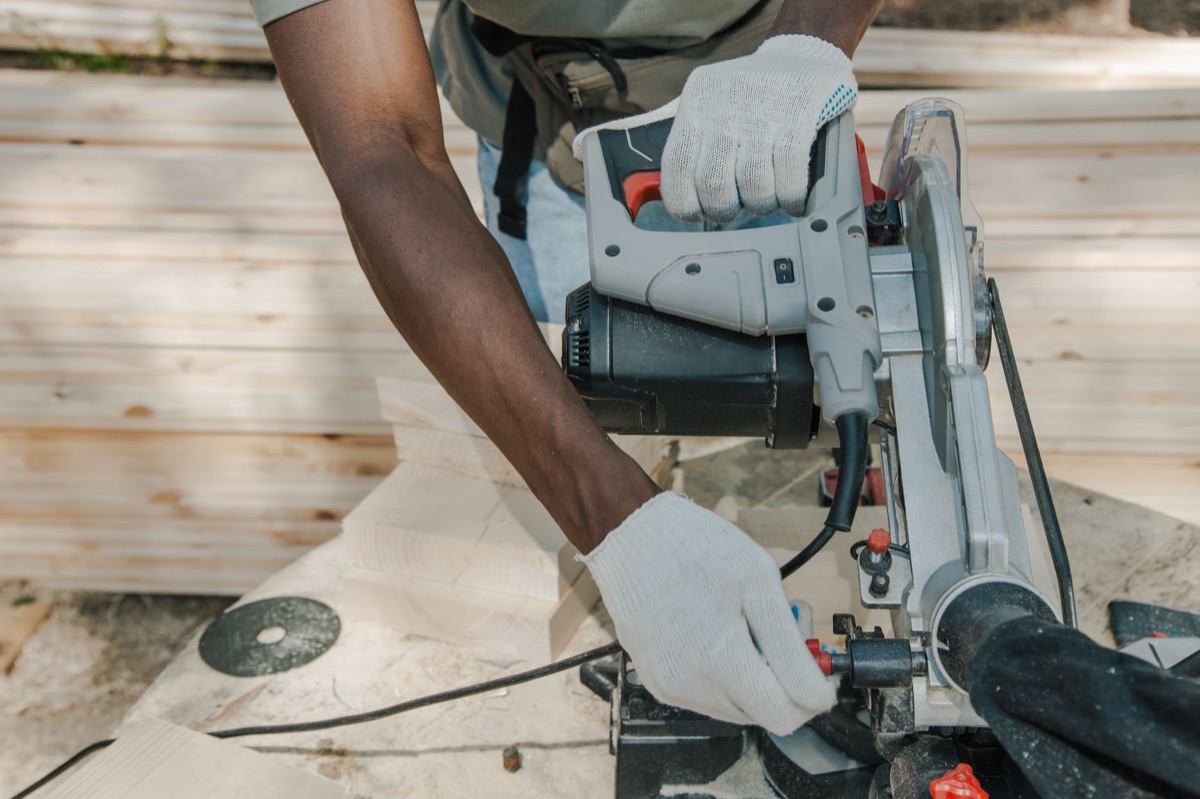
A heavy timber beam sits on a workbench, its weight demanding a stable, than a massive task of splitting the log. The craftsman reaches for a blade with fewer, larger teeth to tackle the massive task of splitting the log.
Dealing with natural grain direction and seasonal movement is the primary challenge of solid wood. Because wood is a living material that expands and contracts, the way you cut it affects its stability. The goal is to follow the grain while managing the resistance.
For rip cuts—cutting along the length of the grain—you need low TPI (Teeth Per Inch) blades, typically in the 24-30 range. These blades have larger "gullets" (the spaces between teeth), which allow the saw to clear out large amounts of sawdust from deep cuts.
Without these wide gaps, the sawdust would clog the blade, causing heat buildup and potentially stalling a table saw.
For cross-cuts—cutting across the grain—the requirements flip. You need high TPI blades, often 60 to 80 teeth, or specialized Japanese-style hand saws. These finer teeth slice through the fibers cleanly rather than tearing them.
A pro tip for working with expensive hardwoods is to use "thin-kerf" blades. These blades have a narrower cut width, meaning less of your precious wood is turned into sawdust. This minimizes material loss and requires less force from your saw motor.
Because these cuts are so clean, they significantly reduce the need for heavy sanding during the finishing phase.
However, once you move from solid lumber to manufactured boards, the rules of physics change again.
Plywood & Veneer: How to prevent edge chipping?
A sheet of 3/4-inch birch plywood leans against a workshop wall, its thin, beautiful veneer face catching the light. The worker knows that one wrong move could shatter the top layer, ruining the entire sheet.
The biggest challenge with plywood is preventing "veneer tear-out." Because plywood consists of thin layers glued together, a blade can easily catch a tooth and rip a chunk out of the top decorative layer.
When using circular saws or table saws on plywood, you must use "Fine Finish" blades with high tooth counts, often 80 or more. The more teeth there are, the less "lift" each tooth exerts on the wood fibers, which keeps the veneer intact.
To own a professional-grade edge, use the "zero-clearance" trick. This involves using a sacrificial-cutter or a zero-clearance insert on your saw. By having the material supported right up to the very edge of the blade, you prevent the wood from sagging or splintering as the blade passes through.
For those working at a workbench, the "score-and-cut" method is a lifesaver. Use a utility knife to deeply score the line where you intend to cut. This severs the top veneer fibers before the blade reaches them, ensuring a crisp, clean edge.
But what happens when the material has no grain at all?
MDF & Particle Board: How to handle engineered density?
The workshop is silent as a worker feeds a sheet of MDF into a saw, but the fine, white dust begins to coat everything in sight. The material is dense, heavy, and deceptively abrasive.
The challenge with MDF (Medium Density Fiberboard) and particle board is the high glue content. The resins used to bind these compressed fibers are incredibly abrasive. As you cut, the glue acts like sandpaper on your blade, dulling the cutting edges much faster than natural wood would.
To combat this, carbide-tipped blades are essential. The carbide-coated teeth are hard enough to resist the "sandbox effect" of the resin. If you use standard steel blades, they will become dull after just a few cuts, leading to heat buildup and inaccurate cuts.
When using jigsaws or routers on these materials, specialized blades are necessary to prevent "blowout" on the bottom edge. Because MDF is essentially compressed dust and glue, it lacks the structural integrity of solid wood.
If the blade exits the bottom of the material too aggressively, it will shatter the base.
Maintenance is the most important part of working with engineered boards. You must clean the dust and resin buildup from your tools constantly. If resin builds up on the sides of a blade, it can cause the blade to "grab" the material, which is a major safety risk.
But managing the material is only half the battle; managing the tool is the other.
Comparison: Which tool for which task?
The master matrix below summarizes the best approach for each material type.
| Material | Optimal Blade/Tool | TPI Range | Primary Risk |
|---|---|---|---|
| Solid Wood | Rip Blade (Low TPI) | 24 - 30 | Grain Tear-out |
| Plywood | Fine Finish Blade | 60 - 80+ | Veneer Splintering |
| MDF | Carbide-Coated Blade | High | Heat & Dulling |
| Hardboard | Scoring/Specialized | Specialized | Edge Crushing |
When selecting a tool, decide if you need a "Universal" blade or a "Specialized" blade. A universal blade is a jack-of-all-trades but a master of none. It can get the job done, but it won't provide the surgical precision of a specialized blade.
If you are working on a high-end custom furniture project, always choose the specialized blade.
But having the right tool is useless if you don't know how to keep it performing at peak levels.
Professional Maintenance: Keeping tools sharp for longevity
A worker sits at a sharpening station, carefully honing a blade to a mirror finish. The metal is cool to the touch, but the edge is sharp enough to shave hair.
The secret to professional woodworking isn't enough to buy the best tools; it is about maintaining them. A dull blade is a dangerous blade. When a blade is dull, you have to apply more pressure to make the cut. This extra pressure leads to slips, which can cause catastrophic injuries.
When I first started woodworking in 2022, I thought a dull blade was just a nuisance. I quickly learned that a dull blade causes the saw to wander, leading to ruined boards and dangerous kickbacks.
Follow this maintenance checklist to protect your investment:
- Inspect after every session: Check for pitch, resin, or glue buildup on the blades.
- Listen to the motor: If the pitch of your saw changes or the motor sounds like it is struggling, your blade is likely dull or the tooth geometry is wrong for the material.
- Regular Sharpening: Use a professional sharpening service or a high-quality sharpening jig to maintain the geometry of your carbide tips.
- Store properly: Never stack blades directly on top of each other. Use blade protectors to prevent the teeth from chipping.
A sharp blade doesn't just make a better cut; it makes the work easier. When the tool does the heavy lifting, you can focus on the artistry of the wood.






Comments 0